

The best part is it only takes a few simple ingredients to make it – flour, yeast, warm water, olive oil, sugar, and salt.
While the one you can buy in stores may be more convenient, the advantage of making it at home is that you can control the texture and the flavors.
That’s why I’m gonna walk you through each step. By the end, you’ll know just how to make perfect dough every time.
Preparing the Dough
| Ingredient | Purpose | Notes |
|---|---|---|
| Flour | Provides structure | Bread flour can be substituted for a chewier crust. |
| Yeast | For a reliable rise and flavor | Critical for dough’s rise and texture. |
| Warm Water (100-110°F) | Activates the yeast | The ideal temperature for yeast activation. |
| Sugar | Feeds the yeast | Enhances yeast activity and dough flavor. |
| Olive Oil | Adds flavor and texture | Prevents the crust from becoming soggy. |
| Salt | Enhances taste | Essential for flavor balance. |
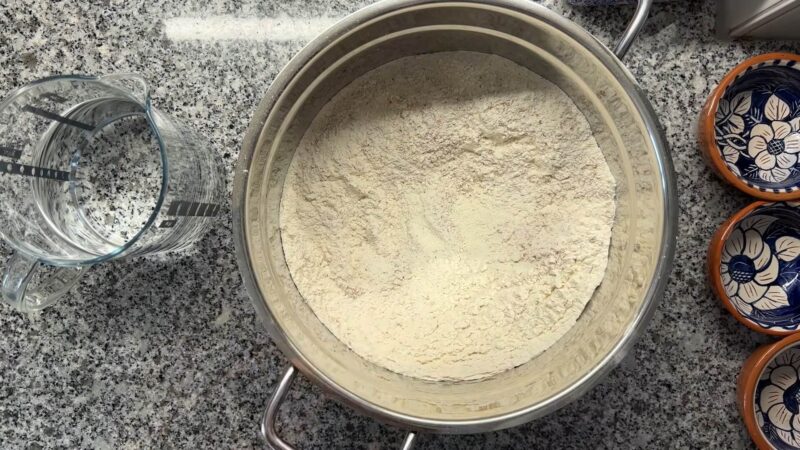
Step 1 – Mix dry Ingredients
-
- Start by combining the dry ingredients in a large mixing bowl. Add the flour, yeast, and salt, and mix them.
Step 2 – Add Water and Olive Oil
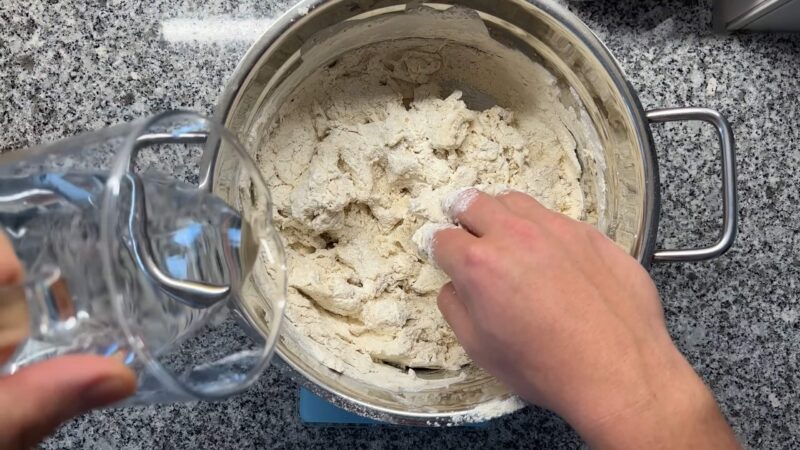
- Slowly pour in the warm water and olive oil. The water needs to be between 100-110°F so the yeast can wake up and get working!
- Start mixing it all. Keep at it until it starts forming one big dough ball. Mix and mix until the dough pulls away from the sides of the bowl.
- Now it’s time for kneading! Shaping the dough with your hands is key for getting the texture perfect.
Step 3 – Kneading the Dough
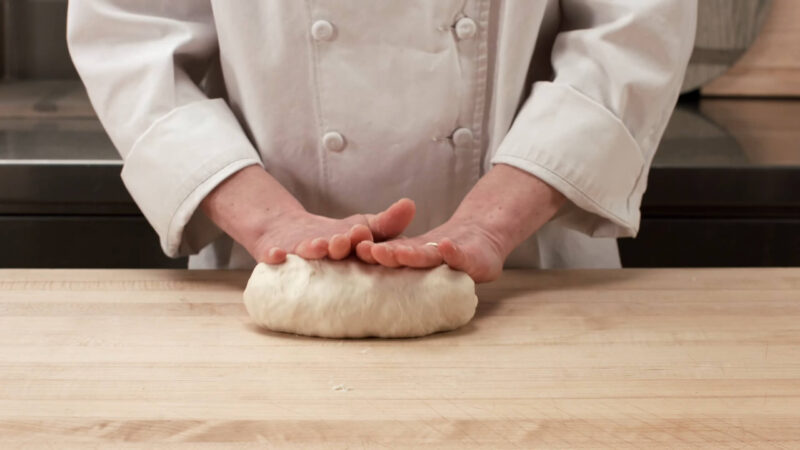
- Gather the dough together with your hands. Squeeze and pull it gently to start developing the gluten.
- Knead the dough on a clean work surface. Use a gentle pushing/folding motion to work the gluten strands.
- Check the texture as you knead. It should feel smooth and elastic after 5-7 minutes. Add flour if sticky.
- When the dough is elastic and soft, the gluten is fully developed. It will be easy to stretch without tearing.
- Proper kneading takes time but pays off in flavor and texture. The stronger the gluten, the chewier the crust will be.
Step 4 – Rising the Dough

- Place the dough ball in a lightly oiled bowl. This will keep it from sticking.
- Cover the bowl tightly with plastic wrap or a damp towel. This allows the dough to rise without drying out.
- Find a warm, draft-free spot to let it rise for 1-2 hours. During this time, the yeast gets to work fermenting sugars for flavor and texture.
- For extra flavor that develops over time, you can refrigerate the dough for 8-12 hours. The slow-rise technique is great for specialty types like sourdough.
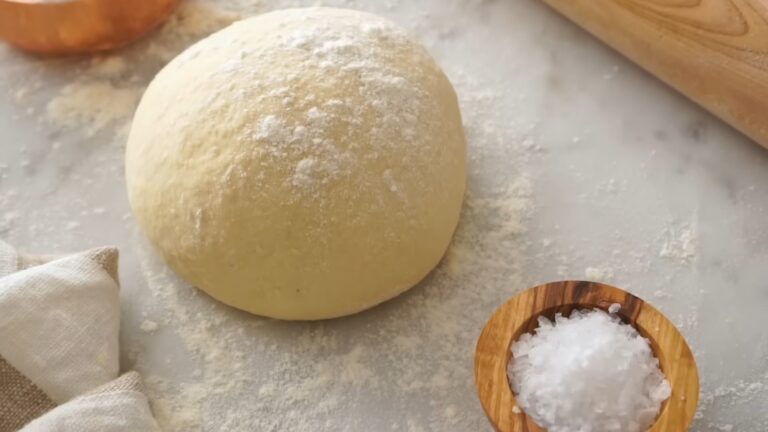
- Check the dough after the time is up. It should have puffed up nicely! Now you’re ready for shaping and topping.
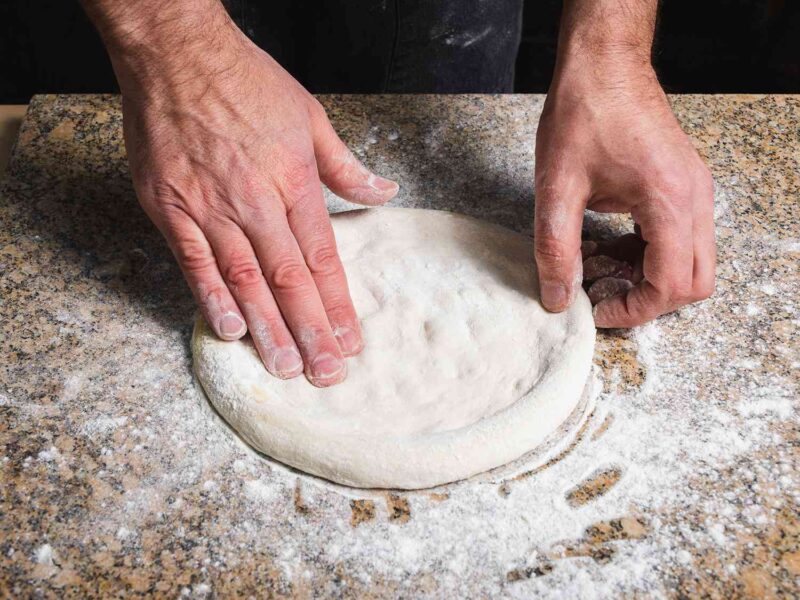
How to shape the dough?
- Start Stretching – Take half the dough ball and begin gently pressing it out using your fingers or a rolling pin. Aim for an even thickness across the dough.
- Form the Edge – As you shape it, create a slightly thicker edge around the outside. This thicker part will become the crust around the edge of your pizza.
- Let It Rest If Needed – If the dough starts shrinking back as you shape it, don’t force it! Just let it sit for a few minutes so the gluten can relax.
- Transfer Carefully – Once shaped, move the dough mass onto a parchment-lined pizza stone or tray. Be gentle so it keeps its shape during transfer to the oven.
- Pre-Heat the Stone – If using a stone, make sure to preheat it in the oven before baking. A hot stone helps create that super crispy crust we all love!
And finally, the baking
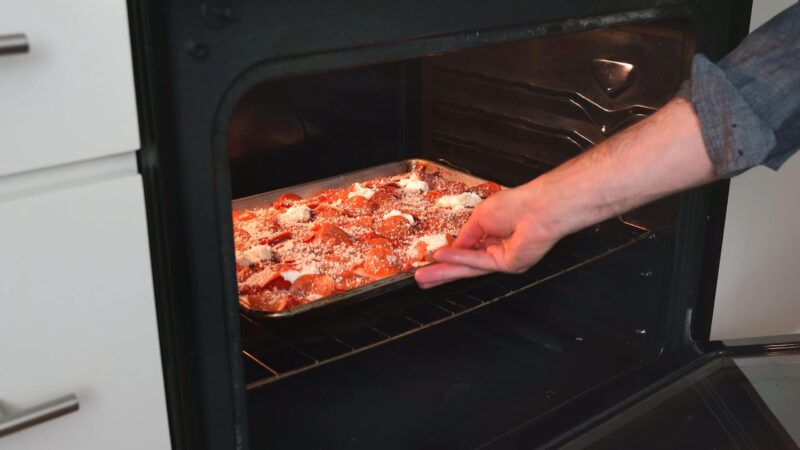
- Turn your oven up, around 475°F to 500°F. Very hot is key for a crisp crust.
- If using a pizza stone, put it in the oven as it preheats. This will give an even brown on the bottom.
- Before adding toppings, brush the dough with a bit of olive oil. This protects your crust from getting soggy.
- Top it carefully without going overboard. Too many toppings = a sad soggy crust.
- Bake for 10-15 minutes, keeping an eye so it doesn’t burn. It’s done when the crust is gold and the cheese is bubbly.
- Let it cool for just a few, then dig in.